
In the previous article, we introduced YGGLab—a desktop workbench that brings together 20+ AI agents and 30+ model platforms. This time, we'll walk you through the setup experience with real screenshots. Follow along, and within ten minutes you can send out your first task.
Step 1 · Open the app and log in to your YGG Lab account
When you open YGGLab for the first time and click into the Models panel, you'll see this:
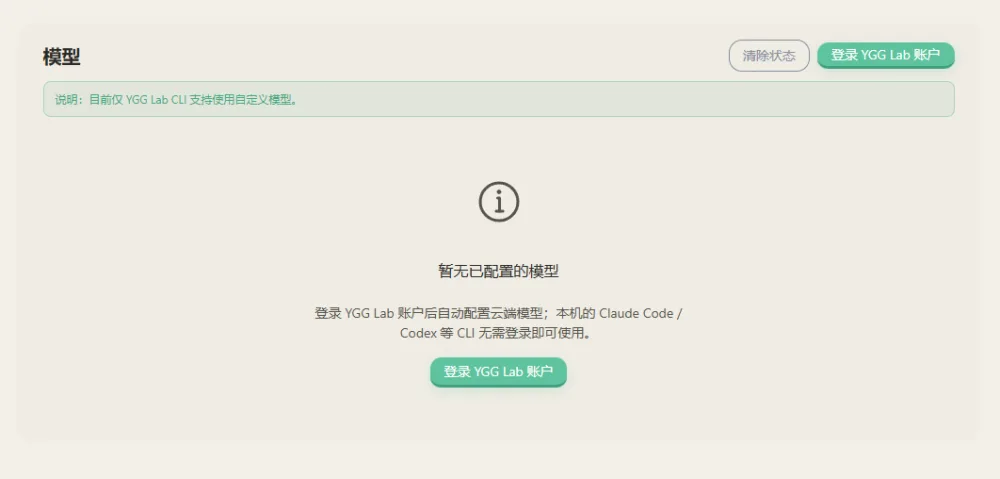
It currently shows "No configured models"—the message is straightforward:After logging in to YGG Lab, cloud models are automatically configured; if you already have CLI tools like Claude Code and Codex installed locally, you can use them without logging in.
Click "Log in to YGG Lab account" to go to the login page:
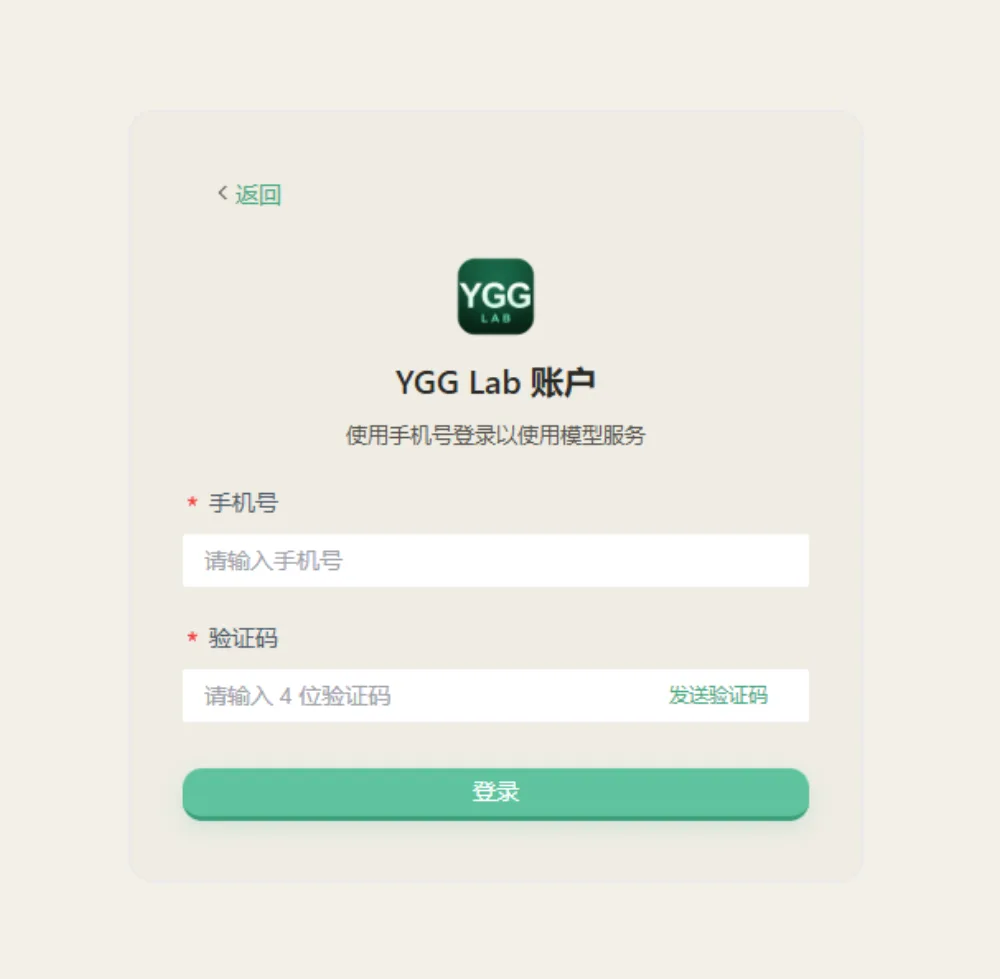
The login method is very simple—phone number + 4-digit verification code, with no cumbersome password registration process:
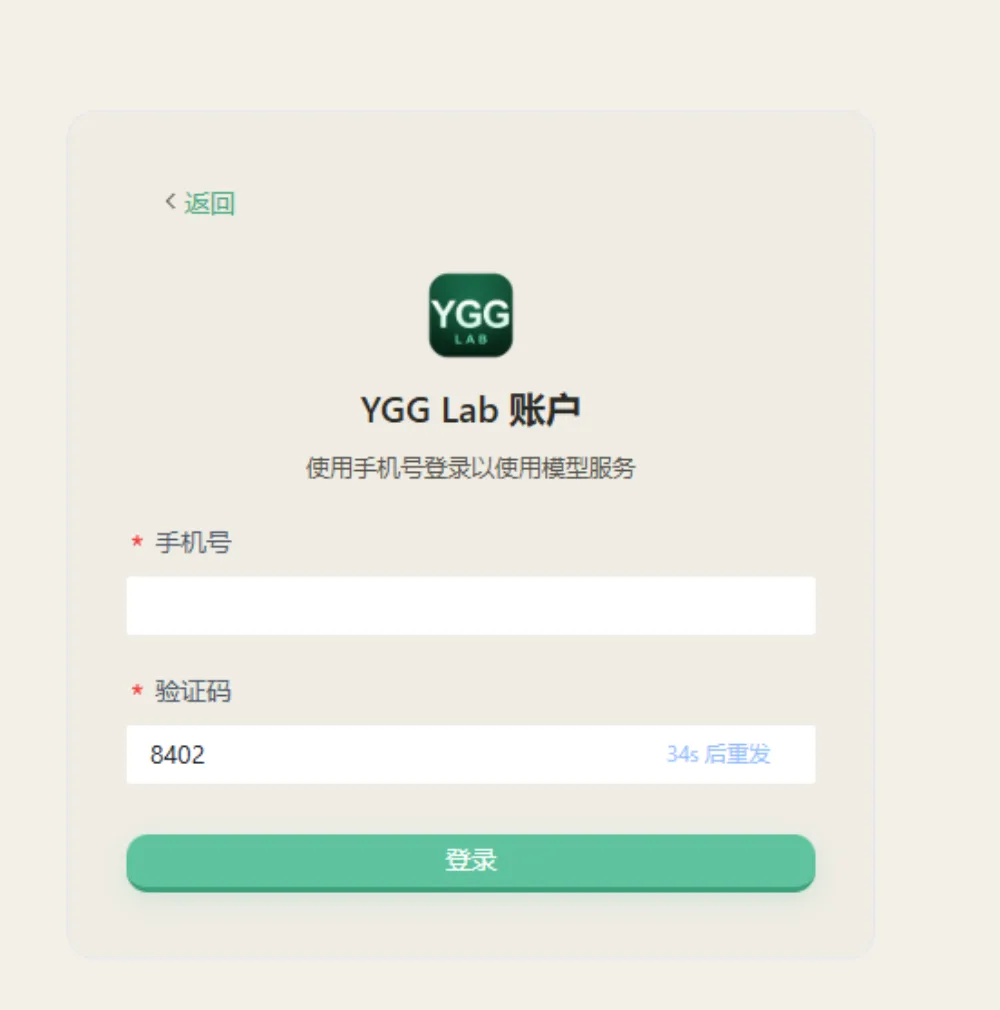
After successful login, return to the Models panel and you'll see your account is ready:
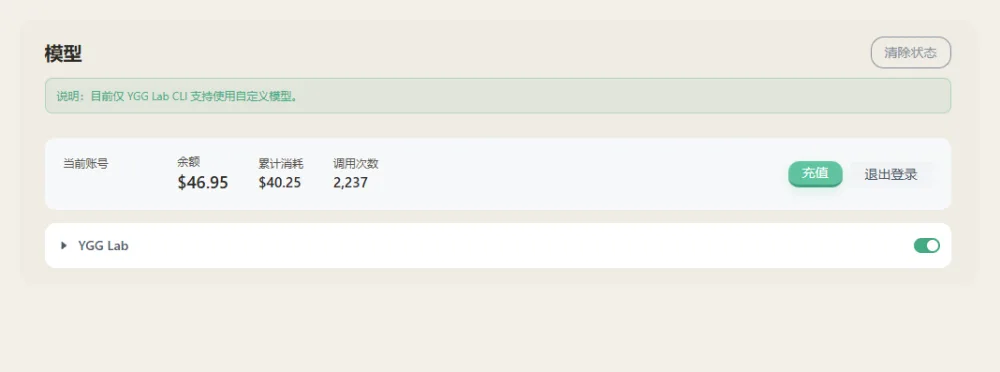
The currently logged-in account is shown in the top-right corner,cloud models are automatically configured, and you don't need to manually enter any API Key. The entire login takes less than a minute.
Step 2 · Recharge on demand; model usage at a glance
After activation,your account will have an initial trial balance。If you find it insufficient,you can purchase on demand in 「Online Top-Up」:
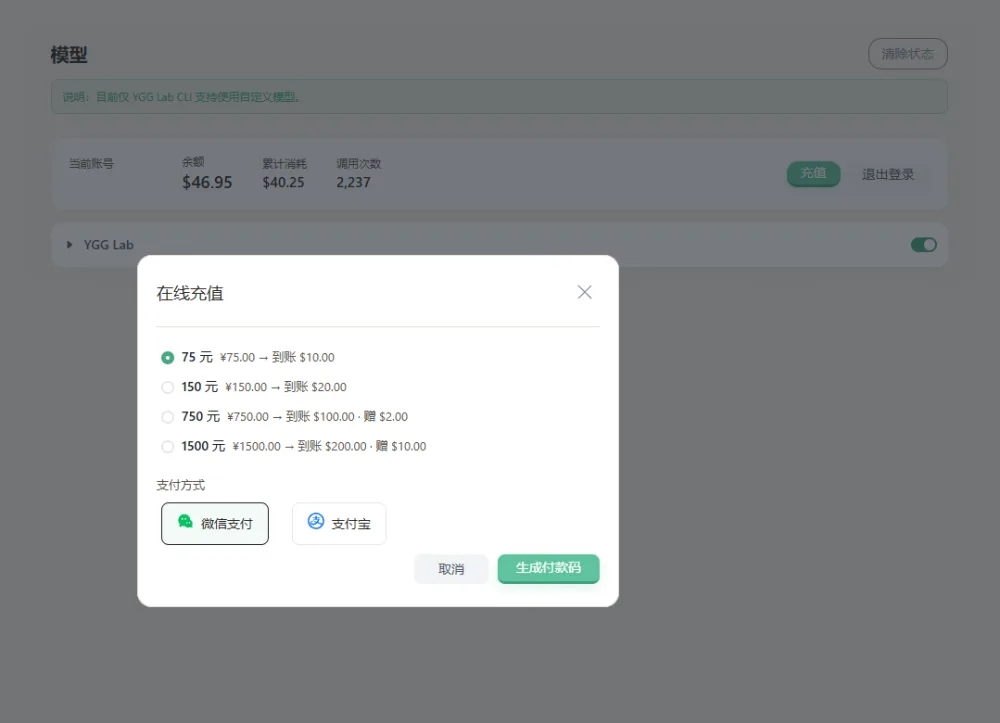
Top-up tiers range from 75 yuan to 1500 yuan,corresponding to different credited amounts,choose the tier that suits you,Complete payment with one click via WeChat Pay——Just scan the generated payment code,and the credit will be effective in real time。
3 Step 3 · Go to the Skills Market,pick an assistant,and get started
Once the model is in place,it's time for the main character to appear。Open the main interface,on the left is your project list(projects and teams at a glance),and on the right is YGG Lab Skills Market 技能市场:
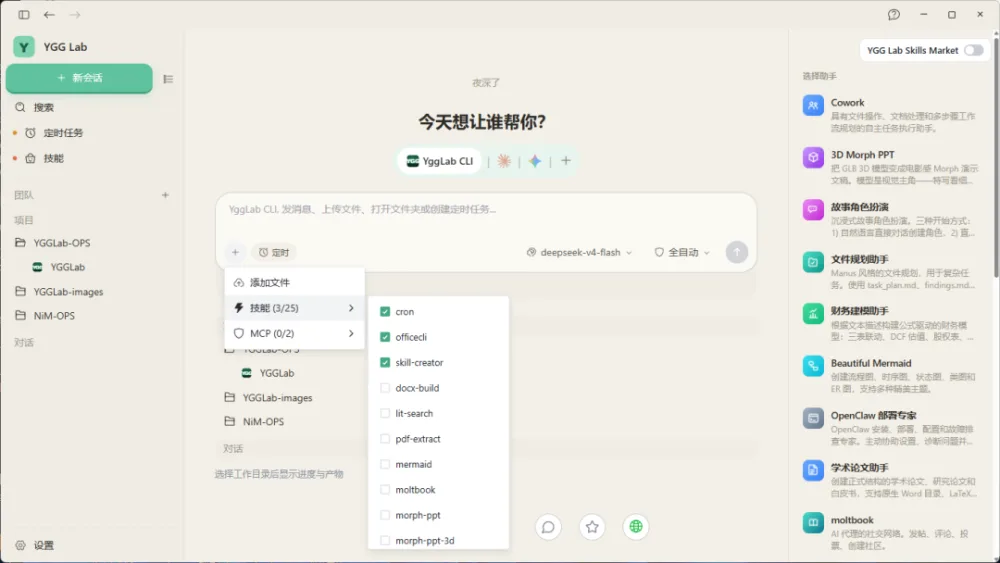
"Who do you want to help you today?"——at the top you can filter by Skills(3/25) or MCP(0/2) Filter assistants,scroll down to see a dazzling array of assistant cards:
3D Morph PPT:Turn GLB 3D models into Morph presentation interactions with one click,supporting multiple themes
Story Role-Play: Three ways to get started, immersive narrative
File Planning Assistant: Manus-style planner, responsible for breaking down complex tasks, automatically producing task_plan.md and findings.md
Financial Analyst: Three financial statements, DCF valuation, equity analysis, pure conversation-driven financial analysis
Beautiful Mermaid: Flowchart, sequence diagram, state diagram, ER diagram, supports multiple themes
OpenClaw Expert: One-stop assistance for installation, deployment, configuration, and troubleshooting
moltbook: A social network for posting, commenting, and voting, allowing Agents to collaborate and communicate
4 Step 4 · Choose a model for the assistant
After selecting an assistant, you can also specify a base model for it — choose the most suitable one from the model list:
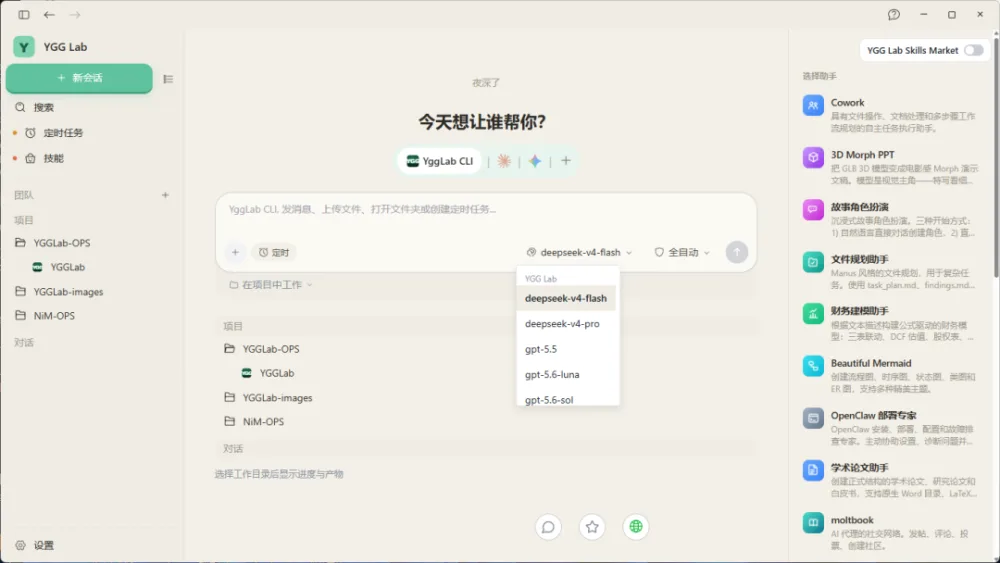
Mainstream models such as DeepSeek, GPT, and Claude are all in the list, and different assistants can be paired with different models,Let each use what they are best at。
5 Start working now
After selecting an assistant and configuring the model, it's time to "speak human"—like briefing a colleague:
- "Help me draft this week's sales weekly report and include the data table" - "Turn the key points from this PDF into a one-page memo" - "Use Excel to create an inventory analysis dashboard"
The output lands directly on your computer as real .pptx, .xlsx, and .docx files, ready to be opened and edited anytime.
From logging in to dispatching the first task, it takes less than ten minutes. The official website is here: , and your AI team is in place, waiting for you to start.
20+ Agents are in place, waiting for you to assign work.